“Beautiful Day in the Neighborhood” will be part of my March 2026 solo exhibition at Hidell Brooks Gallery in Charlotte, North Carolina.
Please contact Hidell Brooks to schedule a viewing, March 6-27.
Please be sure to read the two preceding parts in this series about my painting “Beautiful Day in the Neighborhood”: Part 1 presents the inspiration behind the painting, including photos of me growing up in my small rural hometown. Part 2 covers designing, baking and decorating the real-life gingerbread/frosting model I used as my reference. In this part, I’ll talk about the actual painting process and methodology.
Jump to the images of the painting details.
An Artist’s Honest Confession
Alright, I’m just going to say it: I spent almost 400 hours on this painting, not including the 40-plus hours I spent designing, baking and decorating the real-life gingerbread reference model (see Part 2).
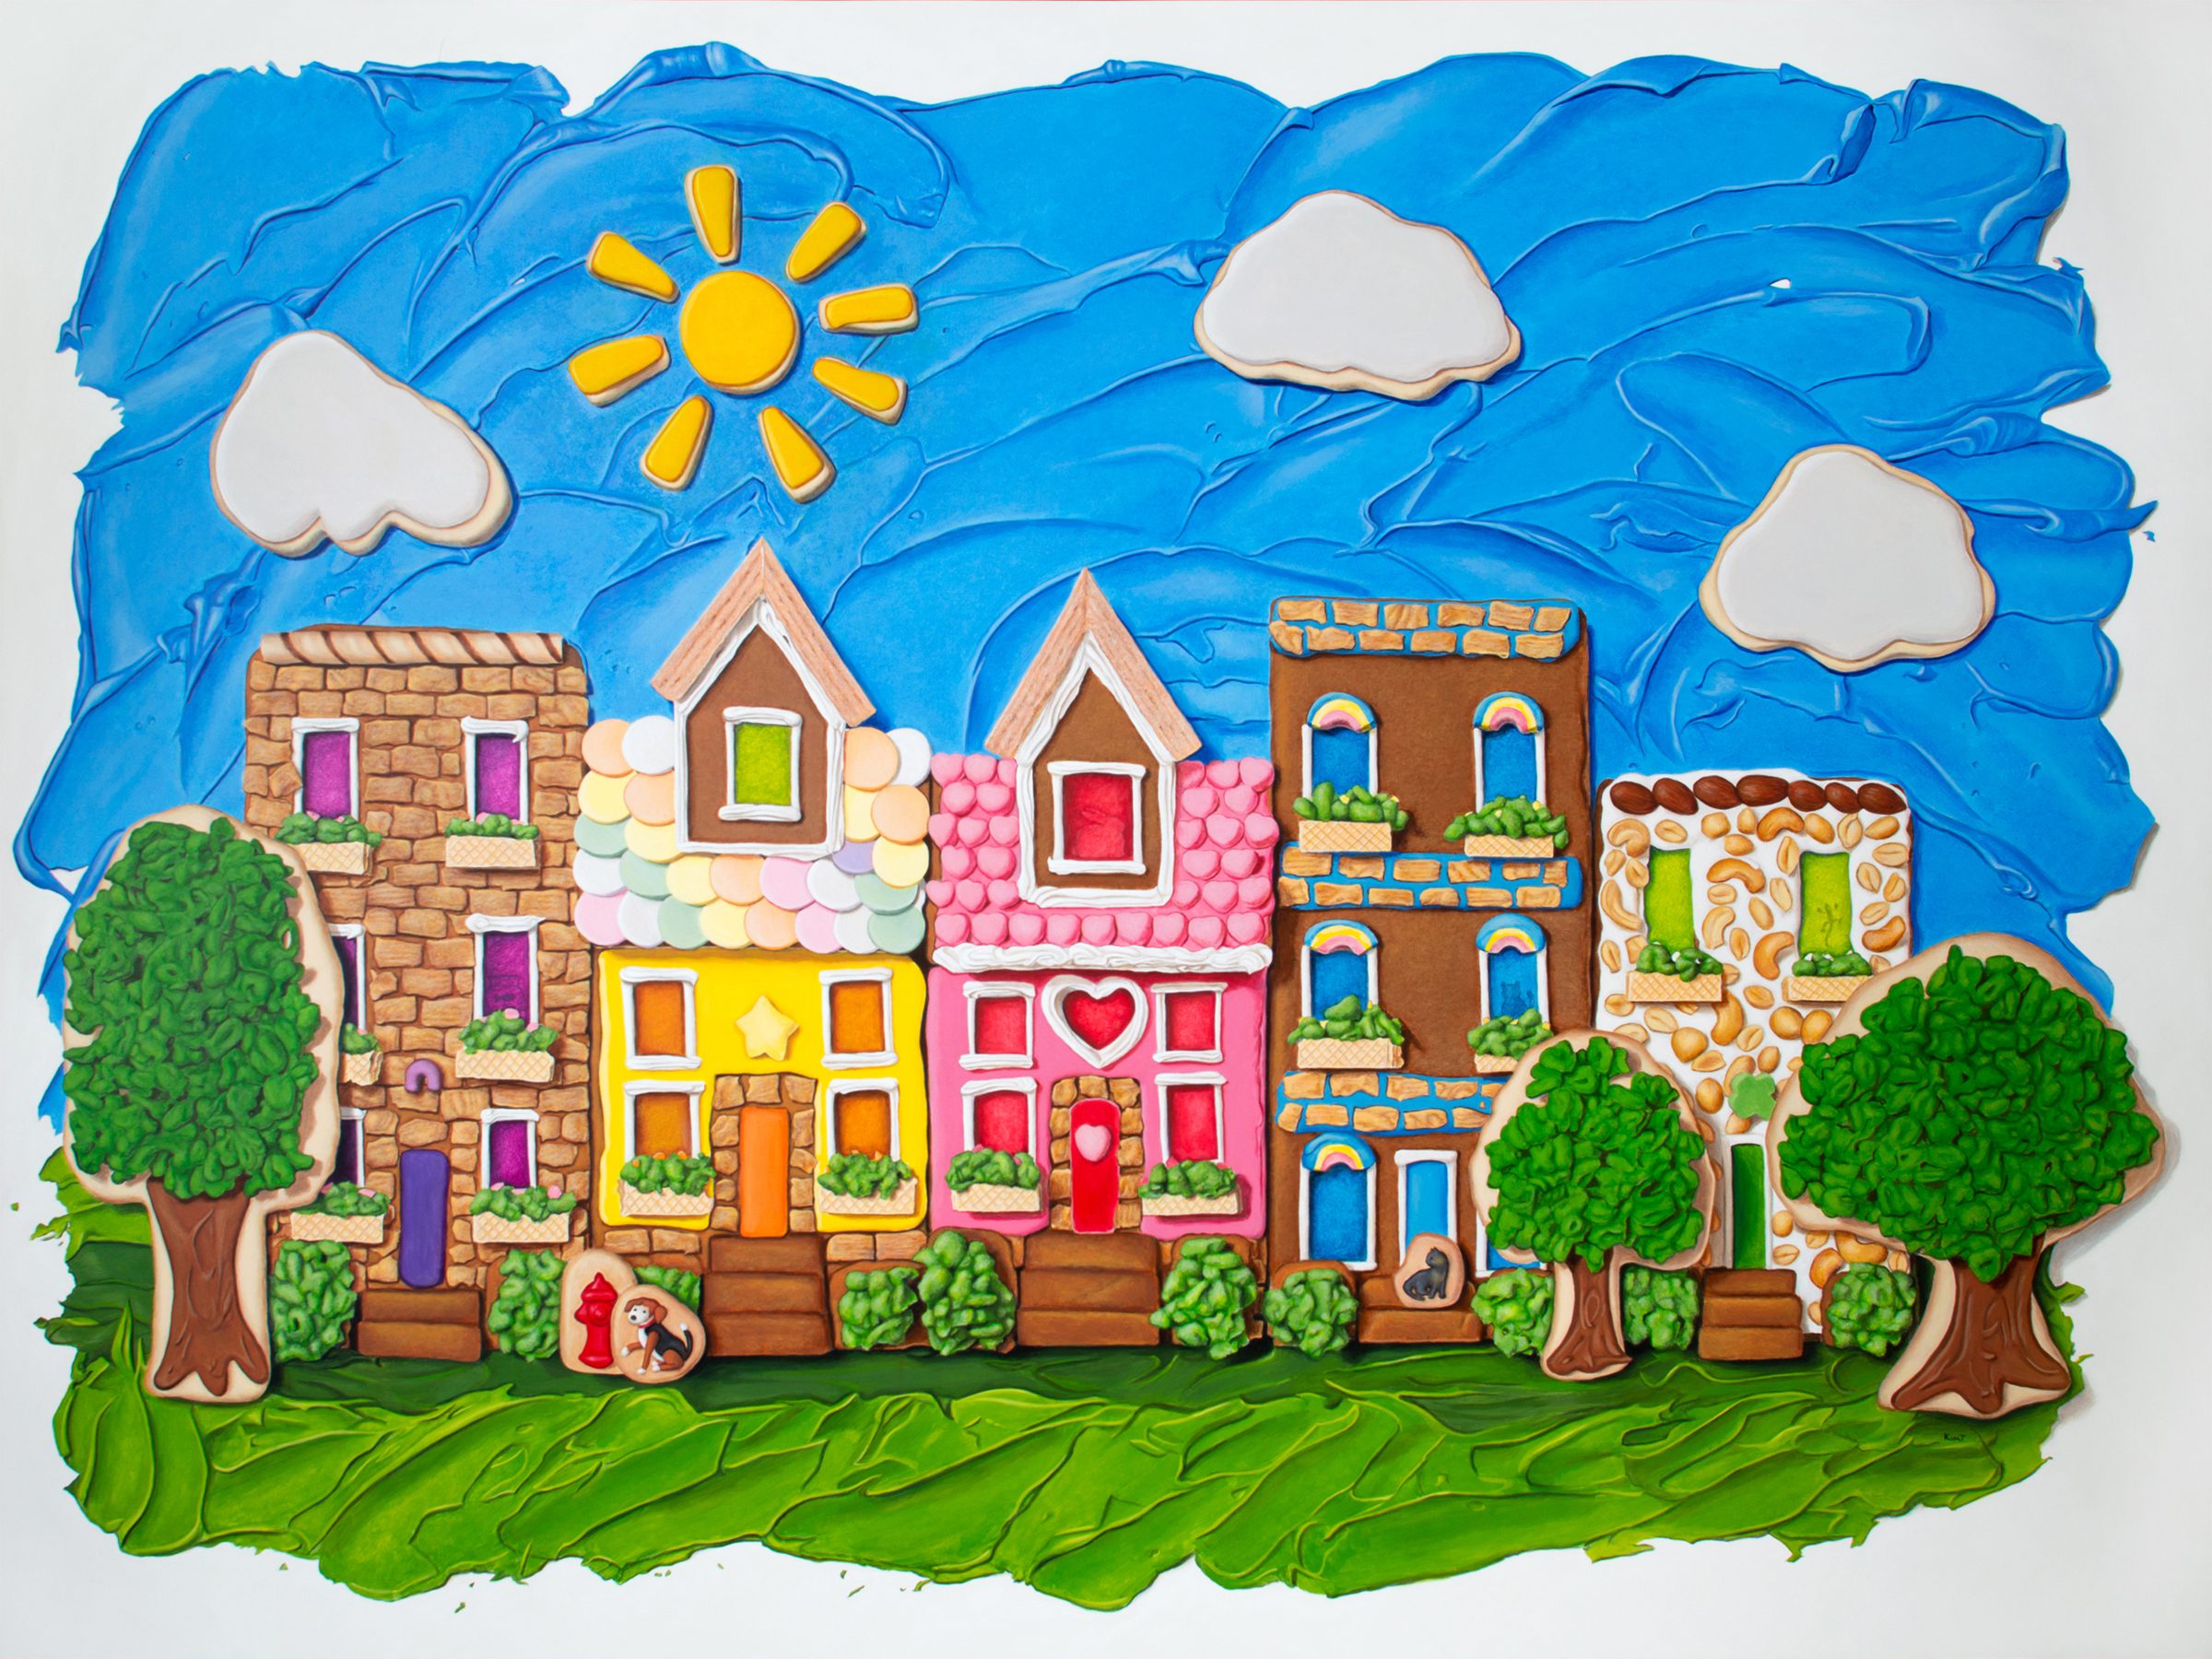
Whew, okay…that was tough to admit. But my paintings take time! Lots of time! The way I paint is very different from a lot of other painters. To create flat paintings with the illusion of dimension, I paint in lots of thin translucent layers, building my paintings from back to front, rather than working from left to right, like so many of the videos of artists you may see online. Some areas on my paintings may take seven or eight or more translucent layers of paint!
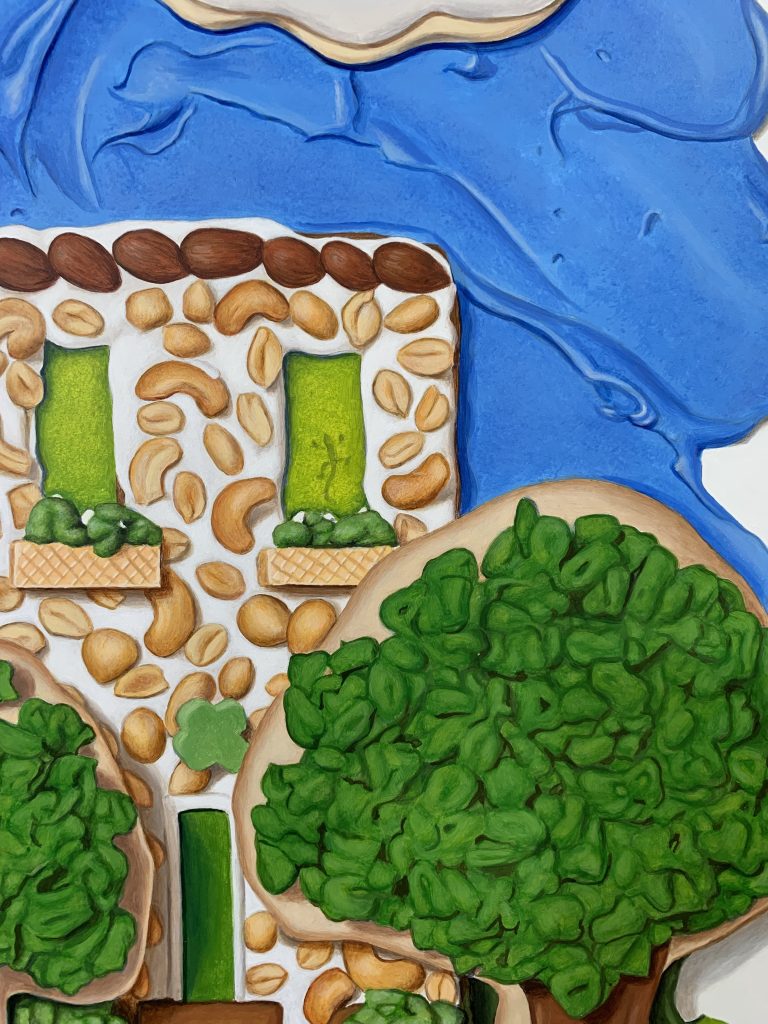
For example, the greenery on the trees in “Beautiful Day in the Neighborhood,” which, in the model, consisted of non-marshmallow Lucky Charms cereal, took me eight layers of translucent paint to get it to look right. So I painted it, let it dry, painted it, let it dry, painted it, etc. In addition to creating very dimensional-looking shapes, it also allowed me to create a color of green that one cannot mix directly with paint. It can only be created by glazing translucent colors over other colors.

This painting was huge, so if you think of me doing what I described above, or something similar, for nearly every square inch of the three-foot-by-four-foot painting panel, that’s a lot of hours! But I’m a bit of a perfectionist, and to me, that was the only way to get it to look convincing on every part of the painting.
Here’s a link to a TikTok video highlighting the entire painting process in less than 30 seconds.
@kimtestoneartist “Beautiful Day in the Neighborhood,” acrylic on panel, 36”x48”. Kind of worked in a fog of never-ending painting for almost six weeks, but it makes me smile in the end. Hope it makes you smile, too! #painting #realisticpainting #artistsoftiktok #acrylicpainting #paintingprocess ♬ Akon's Beautiful Day – Akon
Now, let’s get it to how I managed to do it.
The Painting Schedule
In my recent post, “Why I Almost Didn’t Finish My Largest Painting Ever…a Giant Fudge Ripple Ice Cream Cone,” I addressed the fact that I worked on “Beautiful Day in the Neighborhood” simultaneously with my “Giant Fudge Ripple” ice cream cone painting. I’d been struggling to finish my Giant Fudge Ripple, which was five feet tall and had been in the works for nearly two years at that point. I needed to ship them together to make shipping cost-effective and get them to Hidell Brooks Gallery in time for my March 2026 show. I ultimately had just over six weeks to finish the Fudge Ripple (which was about 80 percent of the way finished) and begin and finish “Beautiful Day in the Neighborhood.”
As soon as I started painting “Beautiful Day in the Neighborhood,” I realized what I’d gotten myself into. I had added so much detail to my real-life gingerbread model that capturing it in paint might not be humanly possible, at least not in any reasonable amount of time and not painting the way I do. There wasn’t a lot of “rest space” in the gingerbread model. In other words, there were zero large patches of just “nothing” in the piece, except for the white border. The image was filled with all kinds of tiny “stuff,” and to get it right — to make it look dimensional like true trompe l’oeil paintings — every square inch of my painting panel had to be painted with an extremely high degree of realism and a high degree of depth. There was no day that was going to be an “easy” painting day. But man, if I could do it — if I could get it right? It would be kind of amazing.
So I pushed, every day, every hour, for weeks on end, from the time I got up to usually around midnight. I still had to work in my normal “life” responsibilities as best I could, but honestly, most of my day every day was painting, painting, painting.
Building Up the Layers
One aspect of my painting that differs greatly from a lot of other painters I’ve known or seen online is that instead of working on one area and finishing it, I work on the entire painting, trying to bring up the level of completion gradually, across the entire piece. As I said earlier, it’s basically building the painting from back to front. I think it ultimately helps me see the relationships between shapes and colors much clearer than if I were to try to finish a section and then move on. So I bounce around, here and there, building up whatever I feel needs to visually built up (remember, the paintings are entirely flat, so the paint layers are very very thin), until I start to see parts of the painting make sense.
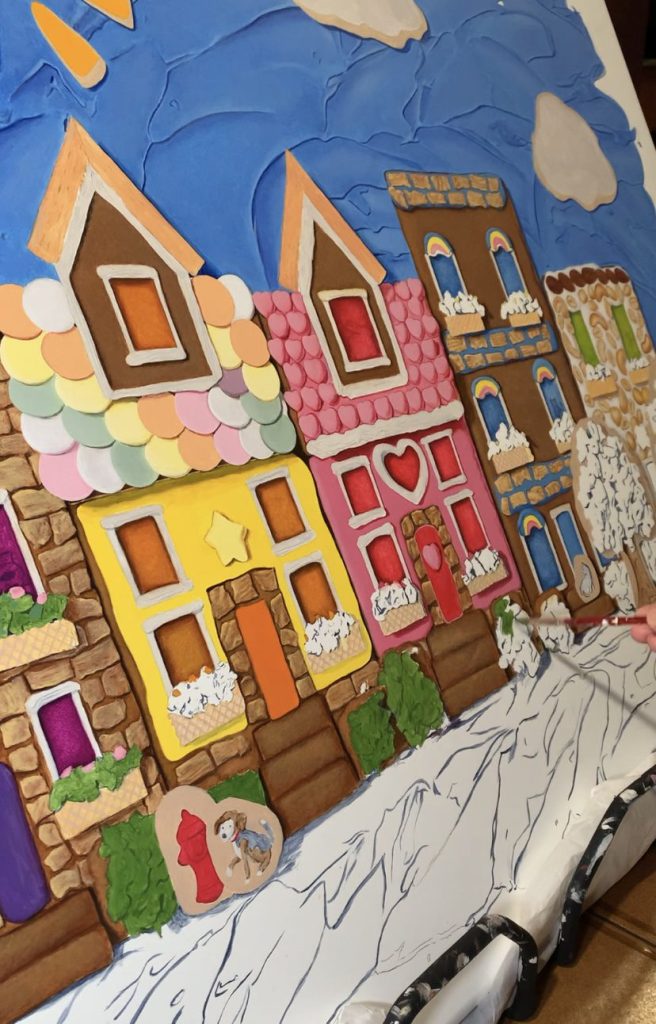
On a piece this large, those first several weeks were pretty daunting: constant work, constant building, and still it just never felt like there was going to be an end to it. Everything was still very much in flux.
Then, almost like magic, a little section here and there started to look real — like real-real, to the point that when I was very tired, it even fooled me a bit into believing the painting was three-dimensional. That’s when I finally began to feel a sense of relief: Okay, time’s running low, but I can still do this.

Creating the Illusion of Texture and Depth in a Flat Painting
Creating the illusion of texture and depth is an aspect of my painting that I believe is absolutely essential to achieving a high degree of realism. I began developing my technique nearly a decade ago and had an accidental breakthrough several years ago when painting a few giant ice cream cones. I wanted to more clearly convey the texture of the ice cream and the cone and was considering how to most effectively do it. I picked up a worn-down brush and began stippling the glazes on top. Voila!
Here’s a link to the TIkTok video with the first worn-out brush I used on my giant Strawberry Sundae painting from 2023.
Now, instead of painting the top layers of my paint in traditional brushstrokes, I often use a worn-down brush and quickly and aggressively stipple the paint glazes, creating an even, well-distributed pattern of translucent dots of paint. These stippled layers peek through each other, creating the illusion of something that looks very real. It’s not like blending — that is extremely difficult to do in acrylics because they dry so fast, and I also think it can also be a distraction because things can tend to look overly smooth or worse, overly sharp. My approach is a very controlled stippling that conveys light, shadow, depth and transition between shapes.
I also use a very unique approach to color theory that relies on the interactions between two color wheels. You can read a bit more about that in the drop-down here.
Learn More about the Unique Color Theory that Gives My Paintings Dimension
Years ago, I learned an approach to color theory in painting that is different than a lot of artists use. I don’t think it’s probably right for everyone, but it is something that really helps me create something with a very high degree of dimension. The more I consciously use it, the more effective the illusion becomes.
So what is it? Essentially, I use a dual-color wheel approach — two color wheels, one with a cool blue, a cool red and a cool yellow, and one with a warm blue, a warm red and a warm yellow. By combining these in various mixes, I can make shapes look more three-dimensional and appear to advance or recede in space.
You can read the original article I read, by Painting Professor Stephen Knudsen, about this dual-color-theory approach in the link here.
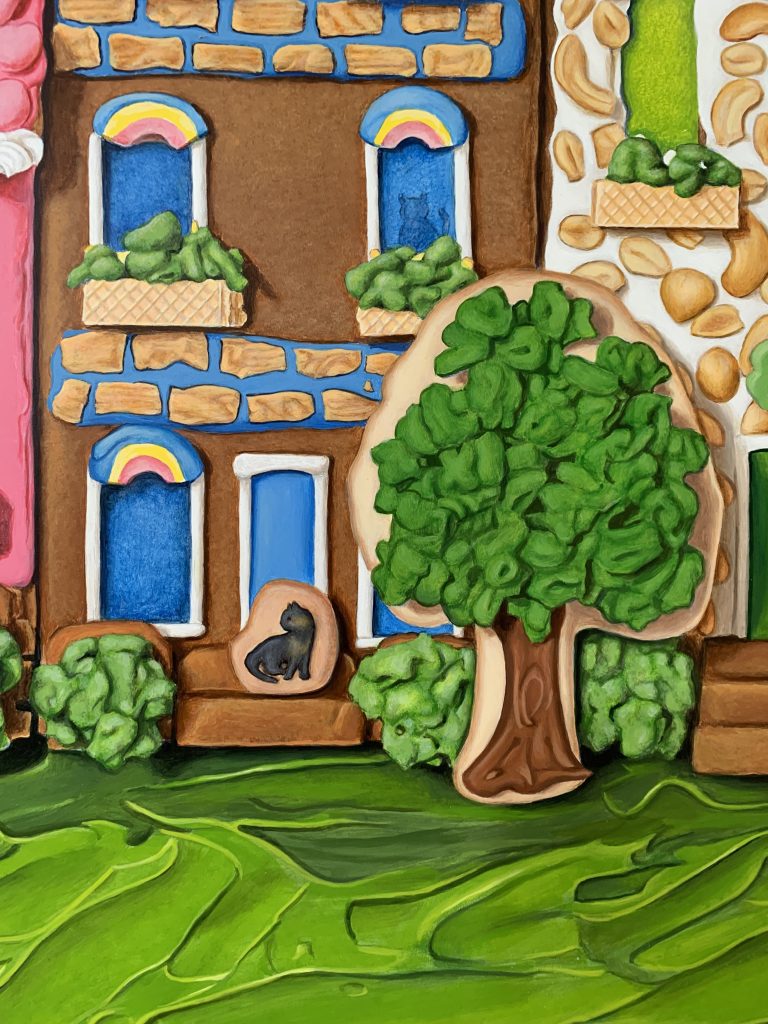
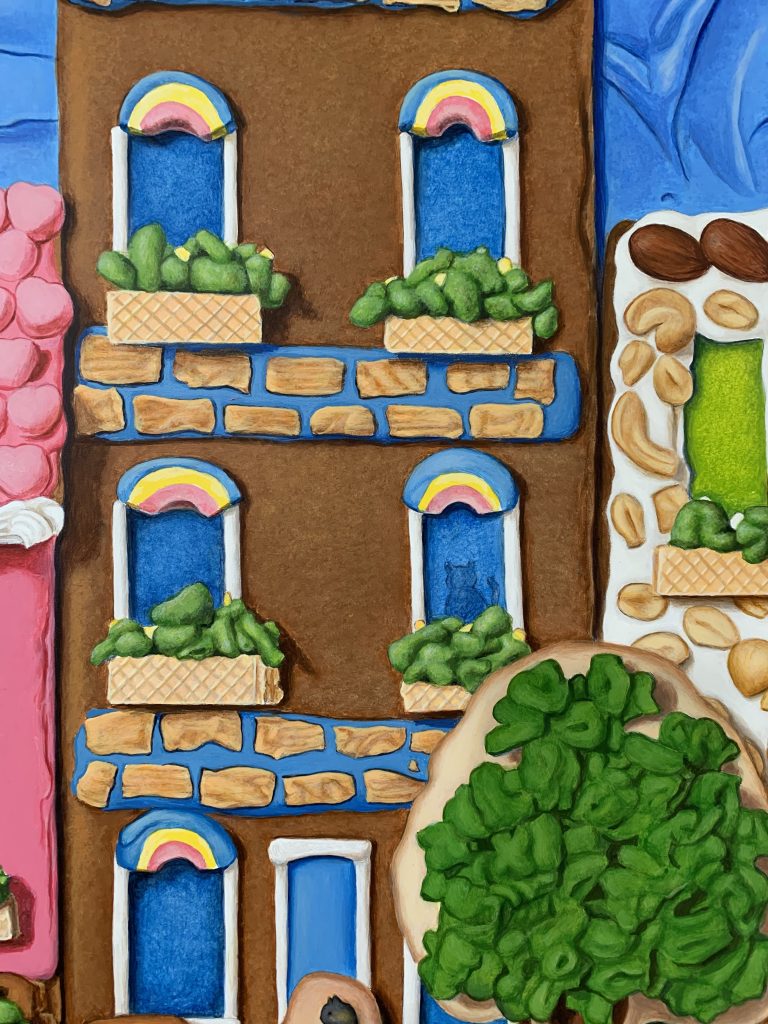
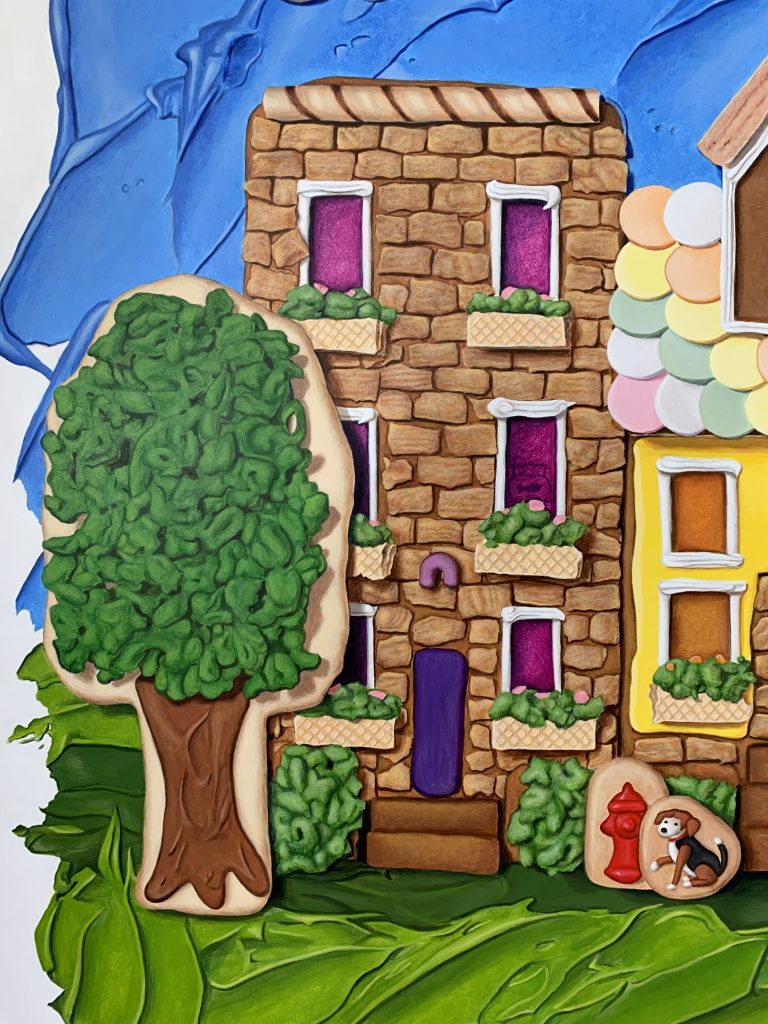
For example, if you look at building number 4 in the painting, I used this approach to paint the gingerbread. It almost seems to glow, the way real gingerbread would if light were to hit it. That is because there are multiple stippled-on translucent layers of paint, built up from warm to cool, dark to light.
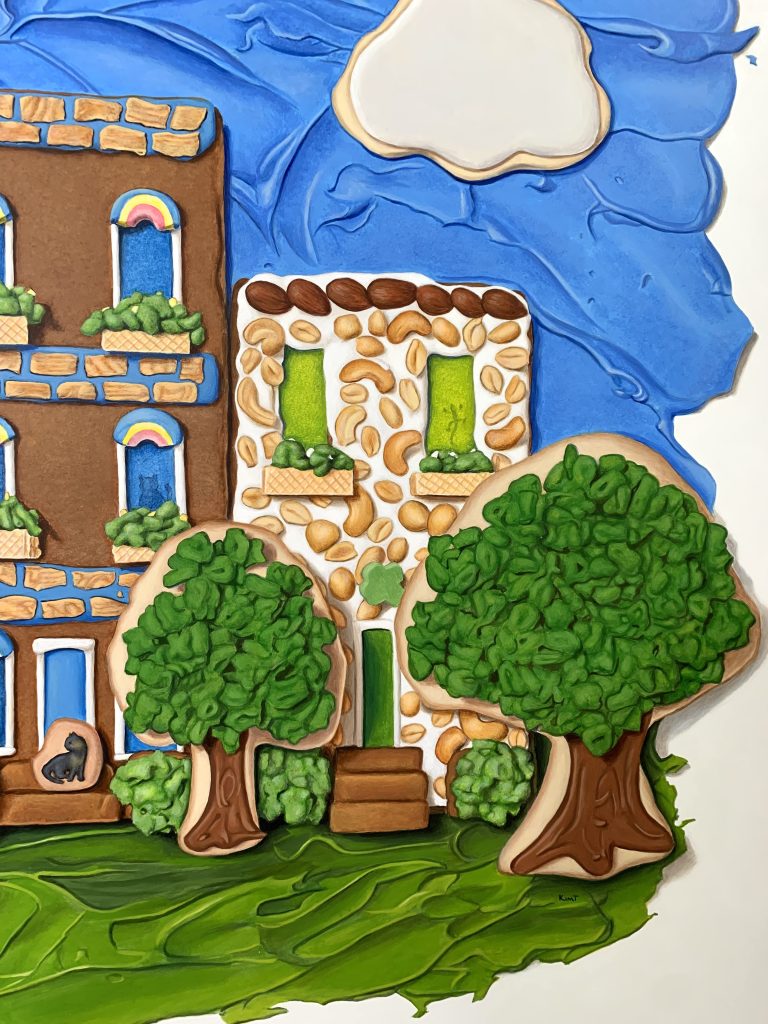
The frosting sky and grass are also painted in this manner. These are large areas where the most important aspect is the relationship between the light and dark areas that create the illusion of frosting swoops. If I were to leave visible brushstrokes in the mid-tone areas, it would completely destroy the illusion because it would compete too much for the viewer’s attention.
The windows were also an important area where I used this approach, so that they appear to be translucent yet solid, with some of the little animals’ silhouettes peeking through from the “interiors” of the gingerbread structures.
Finishing the Painting
In the end, I was able to finish, after a great deal of pushing, sacrifice and what at some points was almost like working in a trance of painting. The illusion is kind of amazing, if I do say so myself. Most important of all, it is an exceptionally happy piece. I like to think it brings a little bit of extra joy and magic into a world that desperately needs it right now.
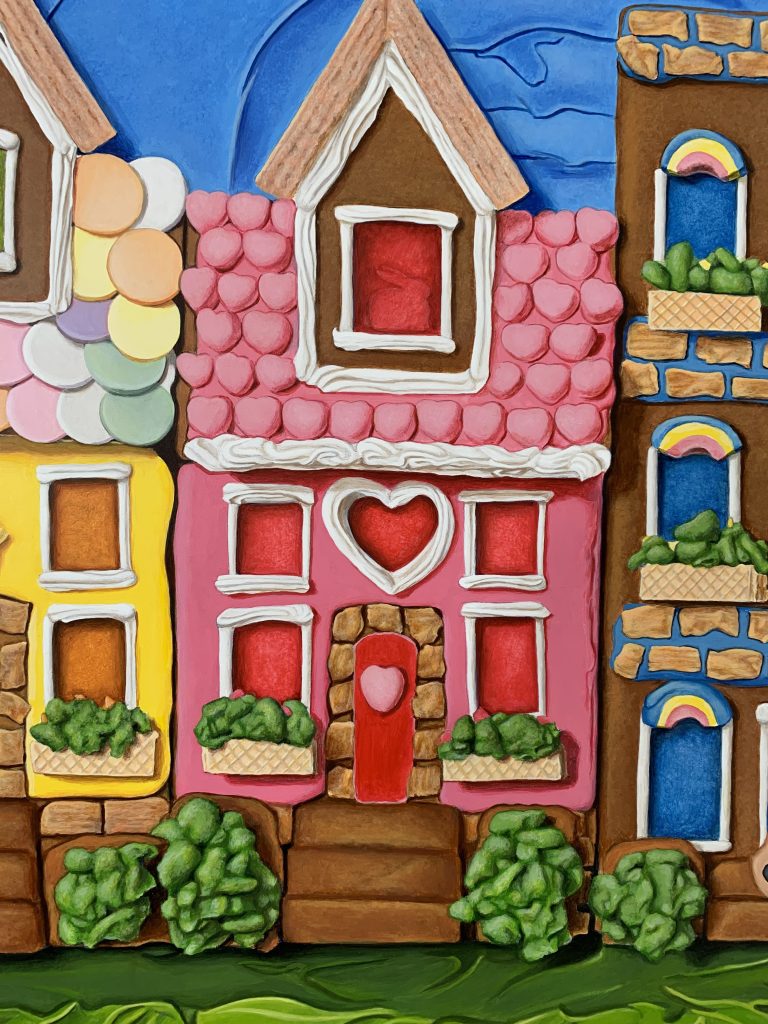
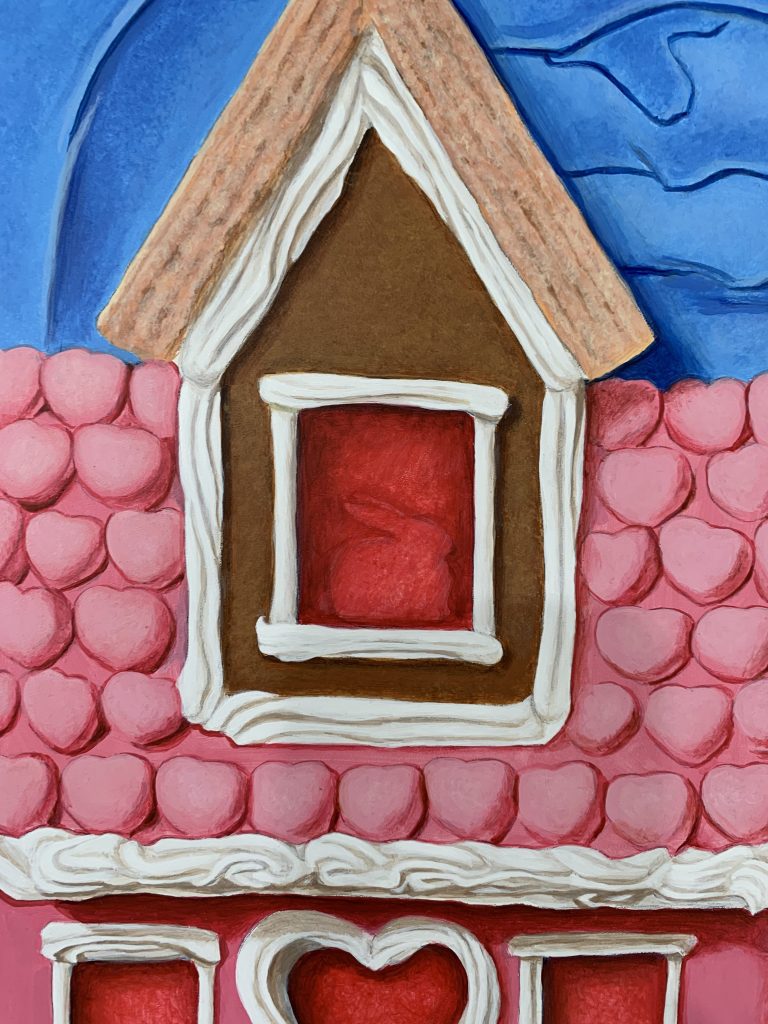
This is one of those pieces that I really think you need to see in person to appreciate; a tiny viewing screen just isn’t going to show it all, and it also isn’t going to convey the true illusionistic depth of the piece. But short of being able to see “Beautiful Day in the Neighborhood” in person at Hidell Brooks Gallery as part of my March 2026 show, here are some close-up images. I hope you enjoy them and that seeing them brightens your day a bit!
Back to painting!
Kim T.




- Showing 40-Plus Years of My Art on Twitch Today: Proof that Artists Can Progress… – July 24, 2026
- We’re Going to Paint a Tiny Ice Cream Bar on Twitch Today – June 15, 2026
- We’re a Go for Twitch Painting Livestreams – June 12, 2026


Leave a Reply