
“The Beetle in My Matchbox Cars,” acrylic on panel, 8″ x 8″.
I thought I’d share some step-by-step images of this piece, which took me just under two days to paint. I used my husband’s old matchbox cars as the model for the piece. I’ll post for sale soon. Enjoy!
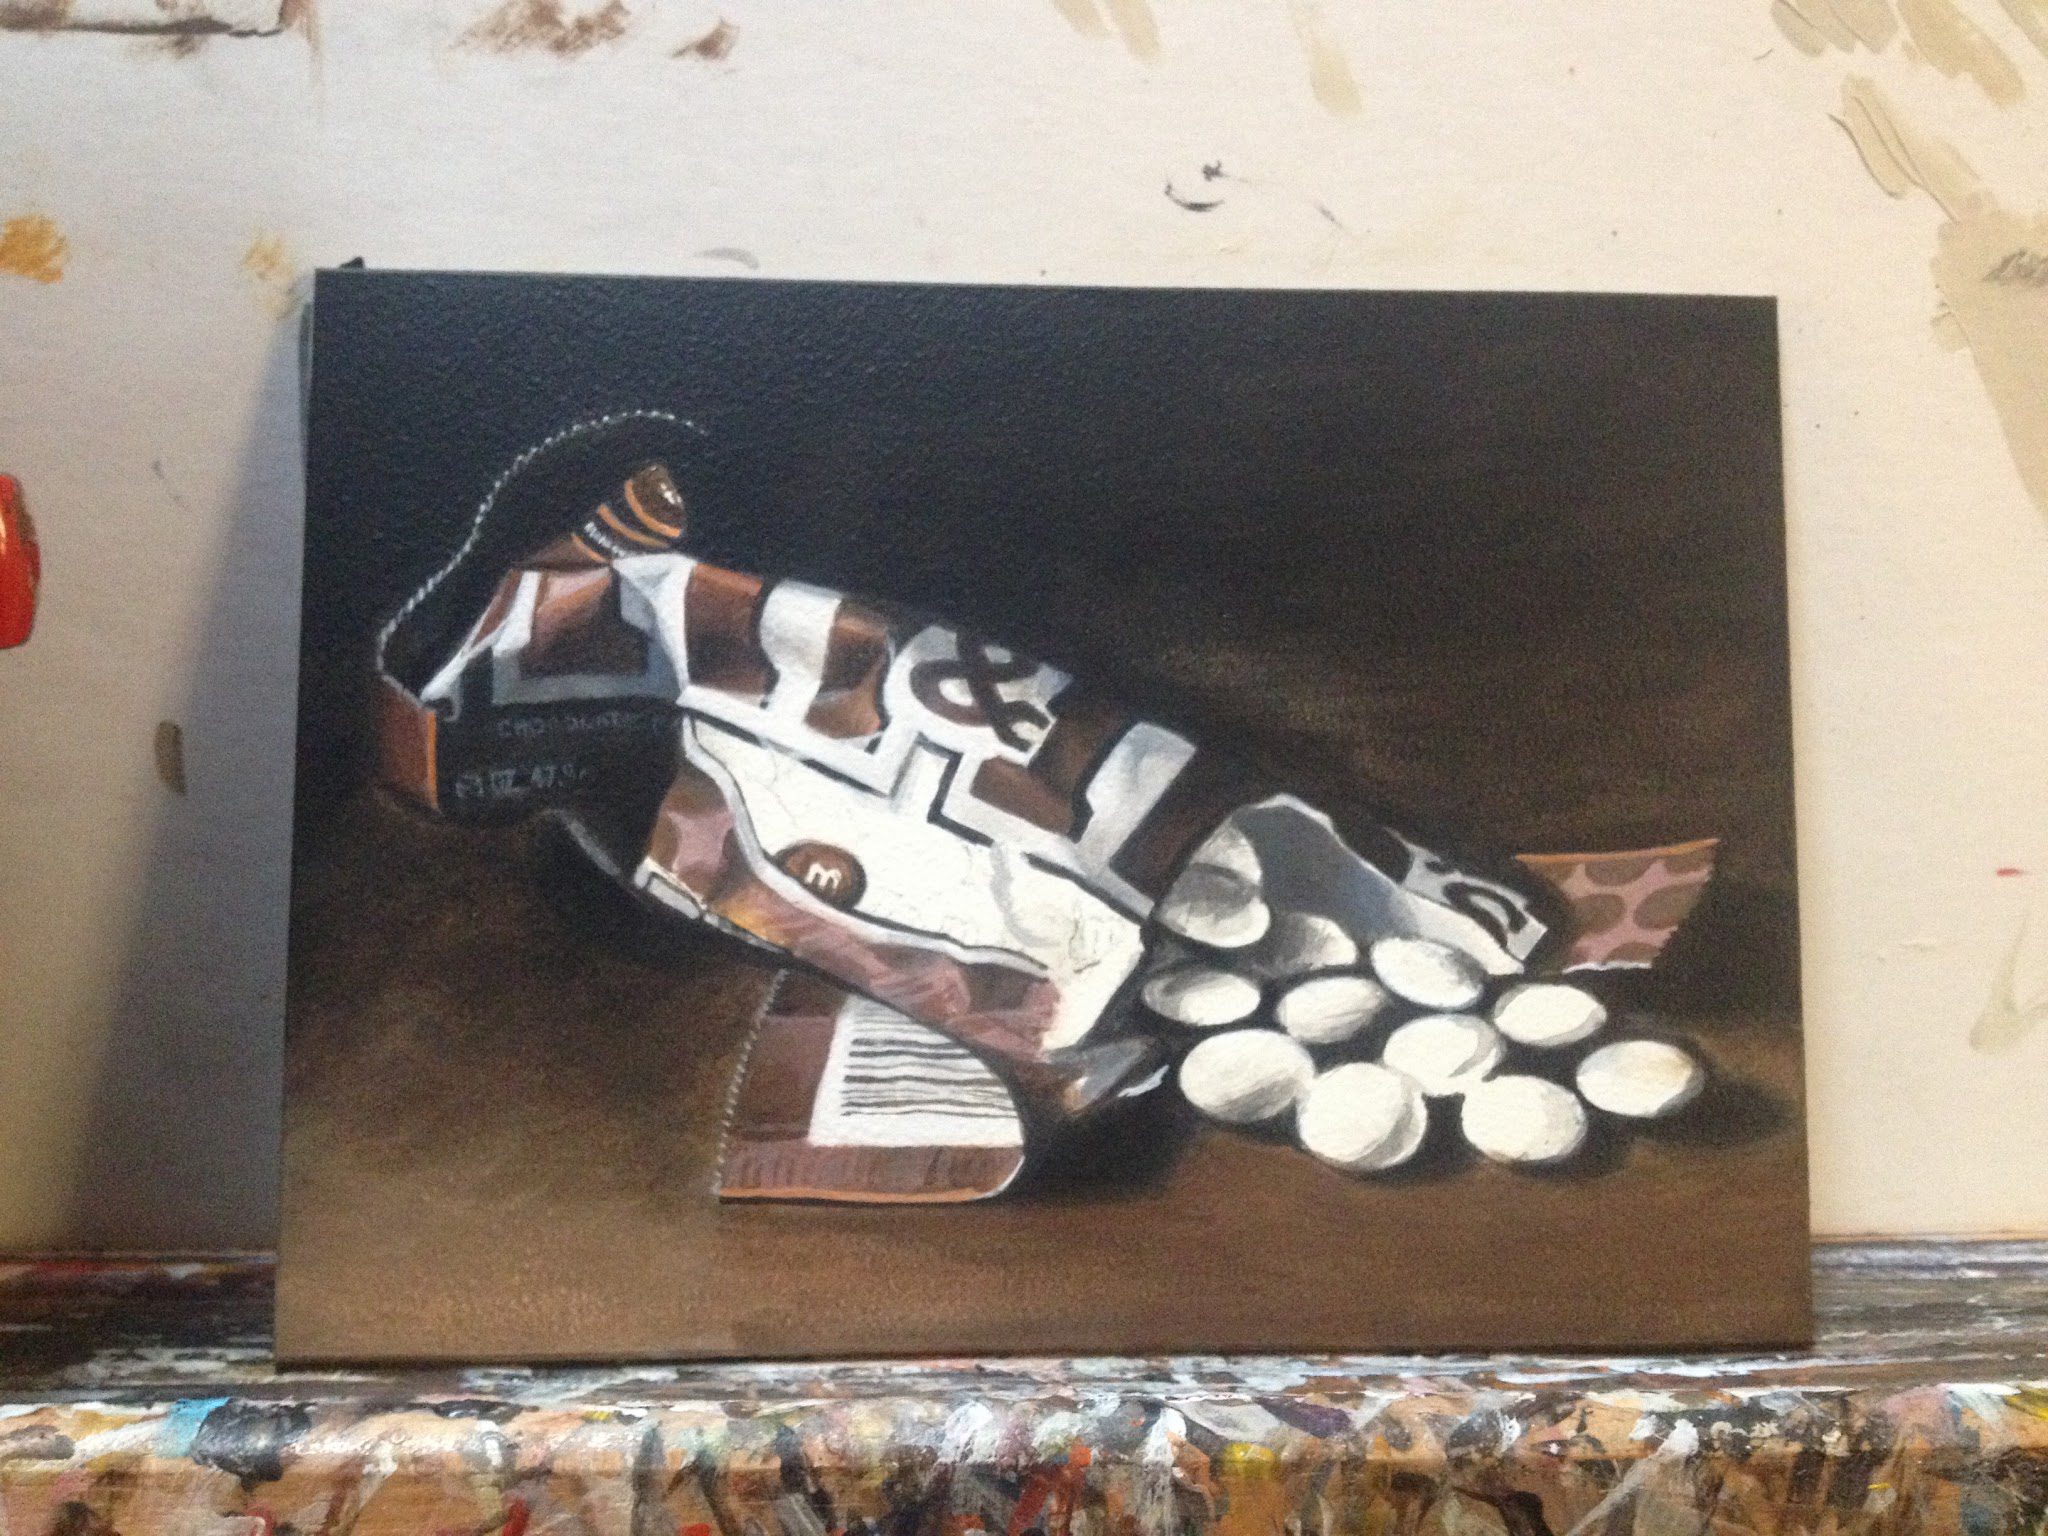
1. Guidelines include and blocking in begin. The dark areas of the piece will help to unify the painting and give it depth, and help to guide me as I figure out the complexities of the shapes and colors.

2. Continuing the blocking in of the dark areas. I am using a mixture of Payne’s Gray, Raw Umber and Titanium White.
3. Dark areas blocked in. Some of these darker spots will be revisited or even toned with a glaze of color at the end.
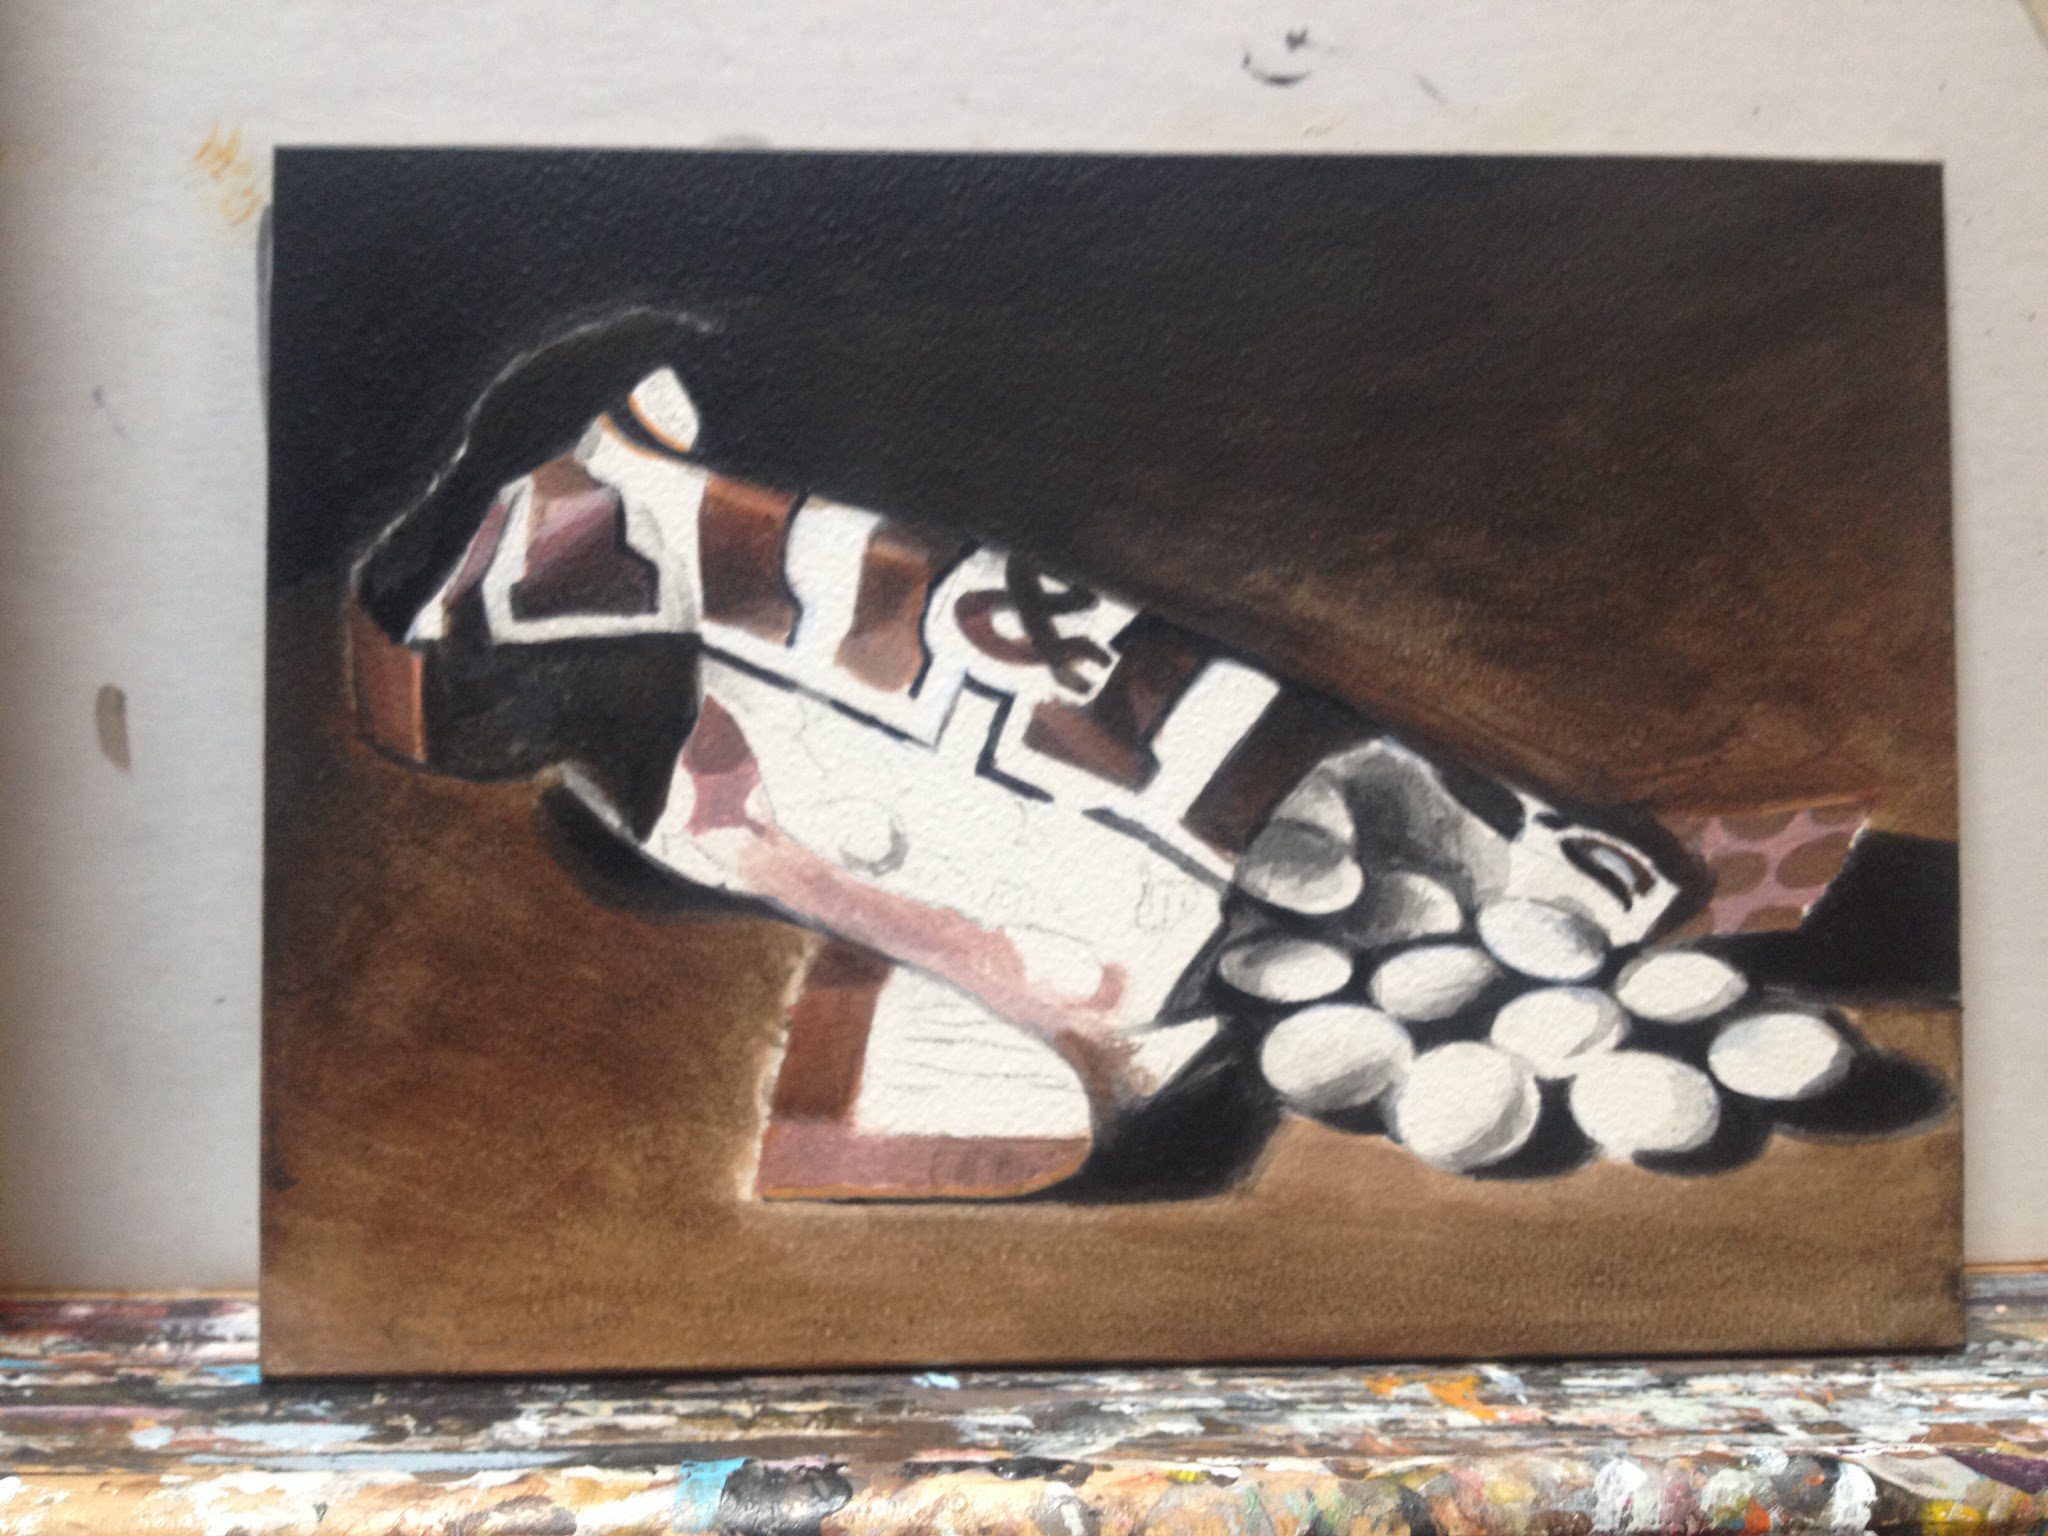
4. I’ve lightly added color to each of the cars to give me some guidance on building up the colors and details of each one. It doesn’t matter if they are exactly the right color at this point. There will be lots of paint layers added to each.
5. Building up the colors and details.
6. Mostly complete.
7. Done! Thanks for looking!


Leave a Reply